Installation
Once you have packaged and published your ZapMCP package to NPM, you will be able to use it from any IDE that supports MCP. Below are some instructions to help you with the installation.
Cursor
For local configuration, edit .cursor/mcp.json in your project root, or ~/.cursor/mcp.json for global configuration. For the following example, we’re using zapyzap as our library name, and @zapmcp/zapyzap as our NPM package name. Feel free to change these values accordingly.
MacOS/Linux
{
  "mcpServers": {
    "zapyzap": {
      "command": "npx",
      "args": ["-y", "@zapmcp/zapyzap@latest"]
    }
  }
}
Windows
{
  "mcpServers": {
    "zapyzap": {
      "command": "cmd",
      "args": ["/c", "npx", "-y", "@zapmcp/zapyzap@latest"]
    }
  }
}
Windsurf
Edit ~/.codeium/windsurf/mcp_config.json (only supports global configuration). For the following example, we’re using zapyzap as our library name, and @zapmcp/zapyzap as our NPM package name. Feel free to change these values accordingly.
MacOS/Linux
{
  "mcpServers": {
    "zapyzap": {
      "command": "npx",
      "args": ["-y", "@zapmcp/zapyzap@latest"]
    }
  }
}
Windows
{
  "mcpServers": {
    "zapyzap": {
      "command": "cmd",
      "args": ["/c", "npx", "-y", "@zapmcp/zapyzap@latest"]
    }
  }
}
After Installation Steps
Cursor
- Open Cursor settings
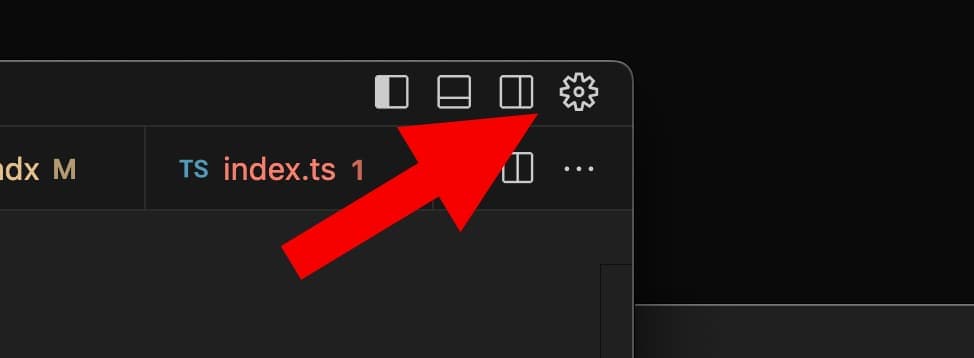
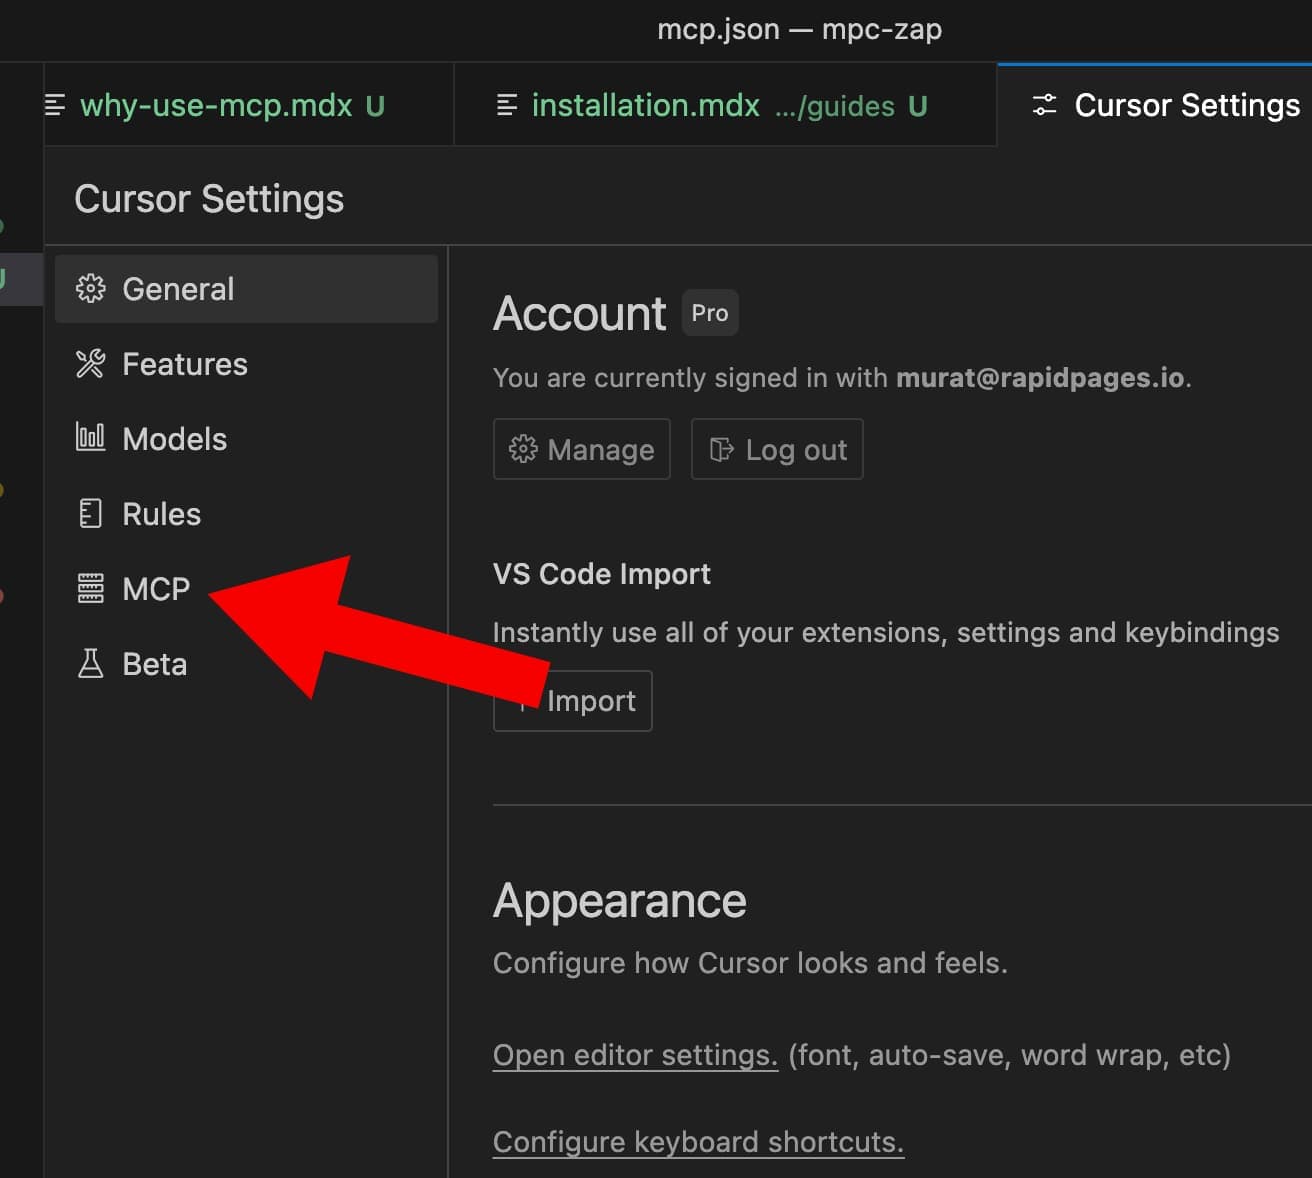
- Navigate to MCP settings
- Click “enable” on the
zapyzapMCP server
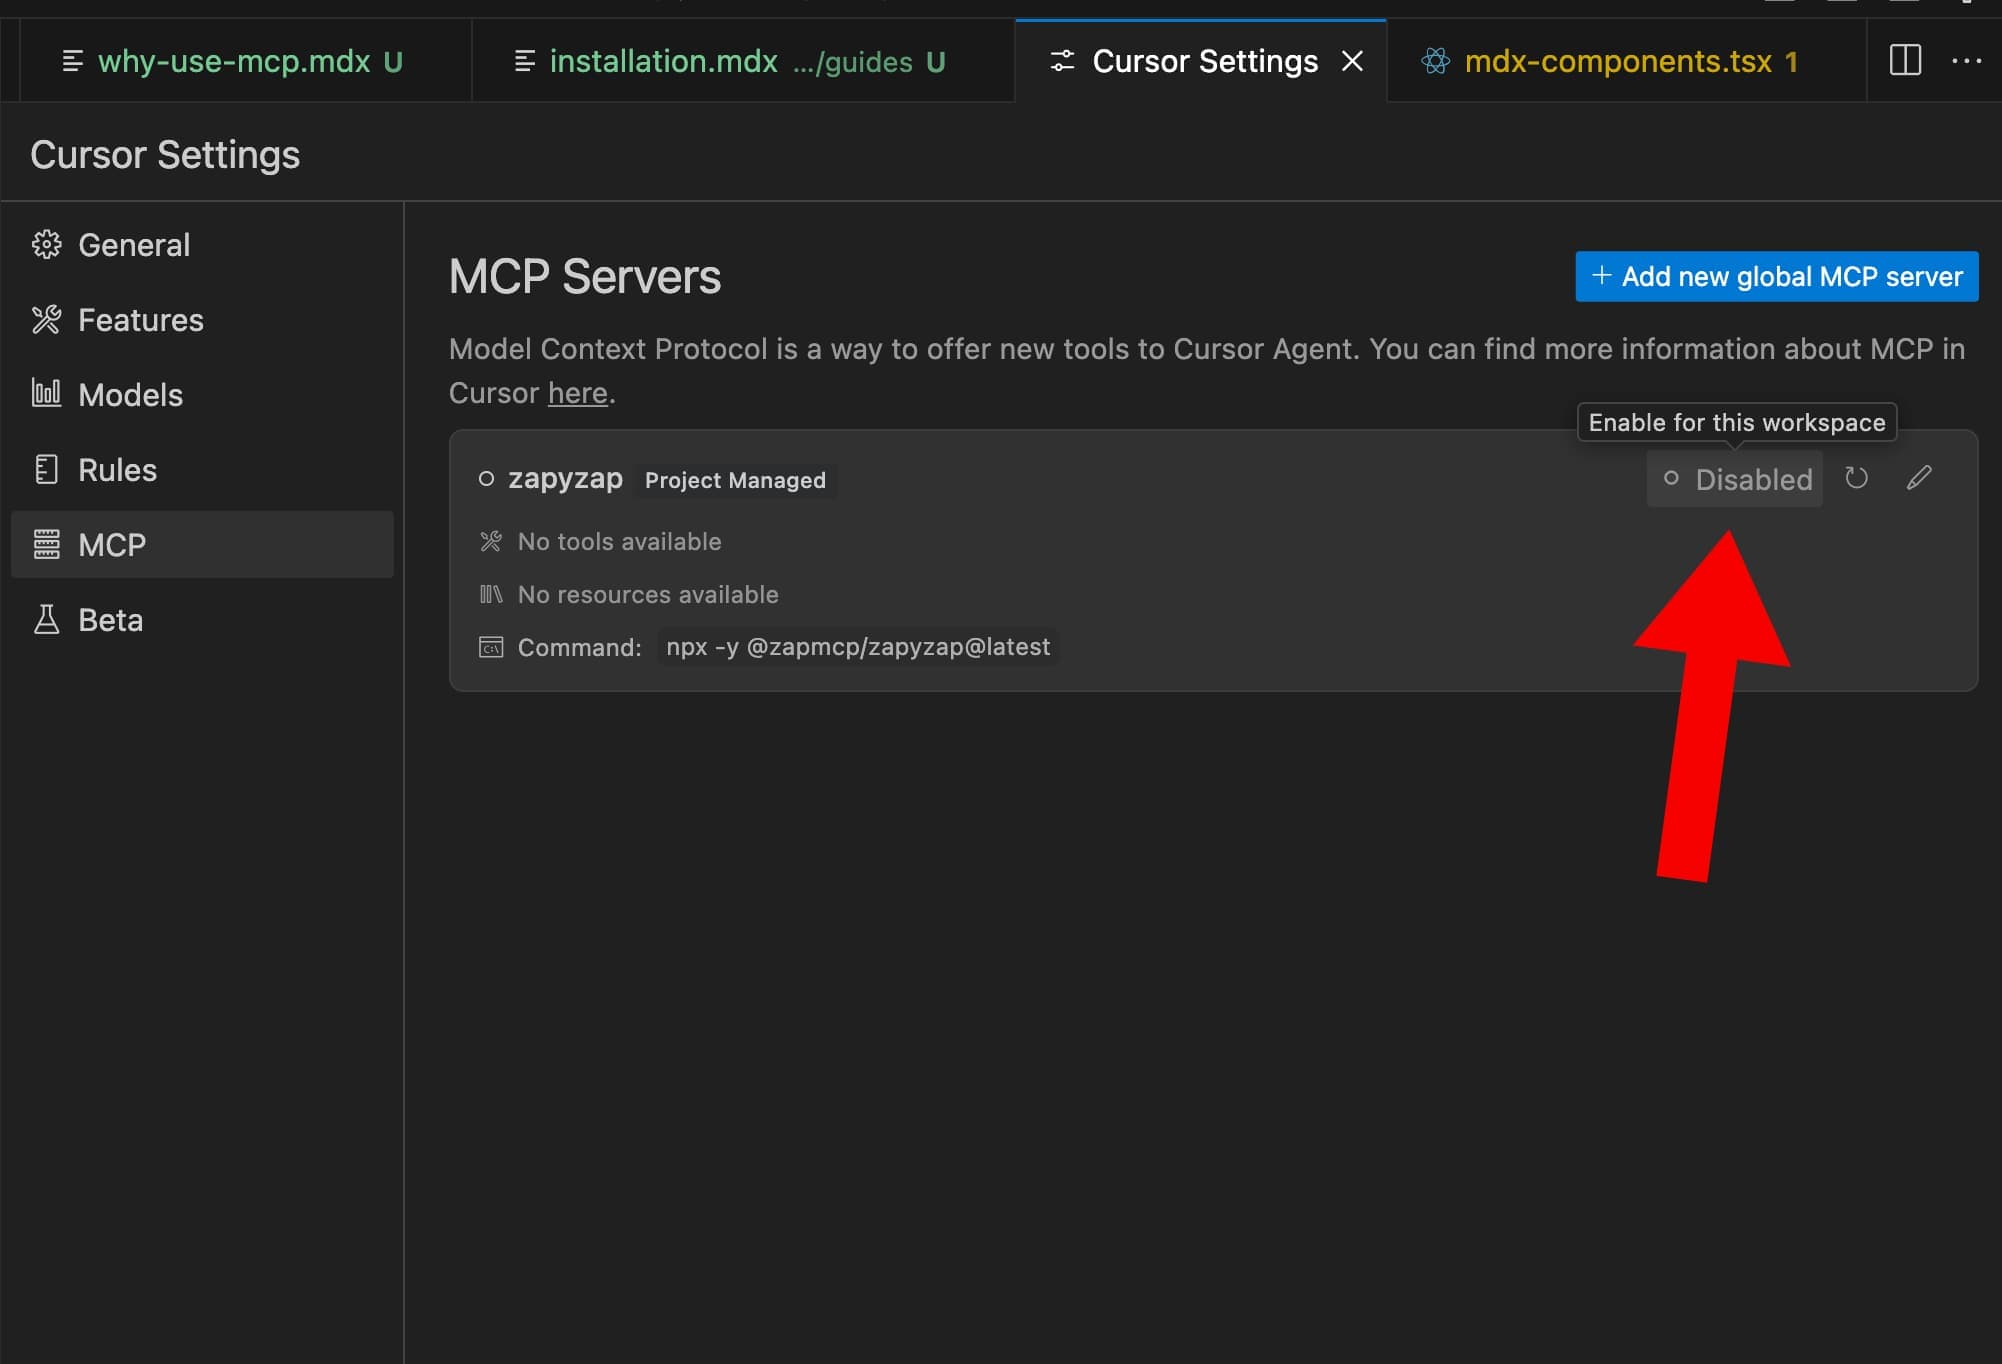
If you have an agent chat open, you’ll need to re-open it or start a new chat to use the MCP server. It may take a minute for the MCP server to start the first time as it needs to download the package from npm.